Showing posts with label hat. Show all posts

Monday, March 19, 2018

Free Pattern of the Week!

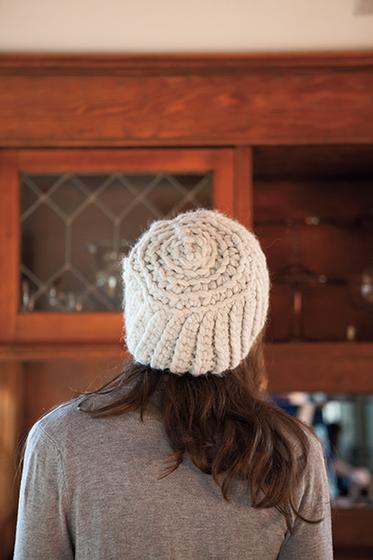
This weeks free pattern is The Big Cozy Hat from KnitPicks.
The Big Cozy Hat
FINISHED MEASUREMENTS 19” circumference, stretches to fi t up to a 23” circumference
NEEDLES US 15 (10mm) long circular needle for magic loop or two shorter circs US 17 (12mm) long circular needle for magic loop or two shorter circs

1X1 Rib in the Round All rounds: *K1, P1* rep to end of round 

pcdd Slip 1 stitch with yarn in back, p2tog, then pass slipped stitch over p2tog 

Directions 
Cast on 40 stitches with smaller needles and work the 1x1 Rib in the round for a total of five rounds. 

Change to larger needles and work the body of the hat in the slipped stitch broken rib pattern as follows: 
Round 1: knit 
Round 2: *Sl 1 with yarn in back, P1* to end of round 
Repeat Rounds 1 and 2 a total of four times or until hat measures approx. 4.5” from cast on edge. 

Crown 
Rnd 1: *K7, Pcdd* to end of round (4 times total) 
Rnd 2: *Sl 1 with yarn in back, P1* to end of round
Rnd 3: *K5, pcdd* to end of round (4 times total) 
Rnd 4: *Sl 1 with yarn in back, P1* to end of round Rnd 5: *K3, pcdd* to end of round (4 times total) 
Rnd 6: *Sl 1 with yarn in back, P1* to end of round Rnd 7: *K1, pcdd* to end of round (4 times total) 
Cut yarn leaving a 6-8” tail. 

Finishing With a yarn needle, thread the yarn tail through the remaining sts; tighten to finish. Weave in all ends.

The Original Pattern can be found at http://www.knitpicks.com/patterns/The_Big_Cozy_Hat__D55683220.html#

Monday, March 5, 2018

Free Pattern of the Week!

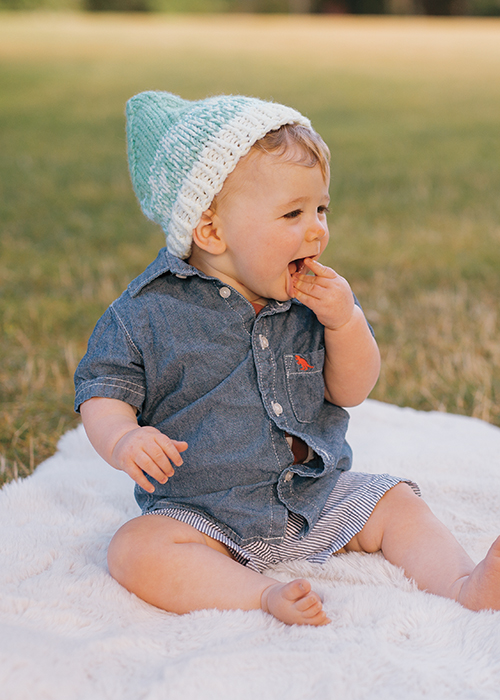
This weeks free pattern is Pixie Hat from KnitPicks.
Pixie Hat
Finished Measurements Babies (toddlers, children), 16 (17, 19)” head circumference
Needles US 11 (8.0mm) 16” circular needles and DPNs

Yarn is held 2 strands together at all times. You decide which is color A and color B 

Directions
With 16” circular and 2 strands of color A, CO 48 (52, 56) stitches. Place a marker and join into a round, being careful not to twist stitches. Work 5 (6, 7) rounds in [k1,p1] rib. (If you want a fold-up cuff, continue in rib for a total of 3 or 4 inches.) Cut one strand of color A, then join remaining A together with one strand of color B. Knit 10 (12, 14) rounds. Cut color A and join another strand of color B. (Color A is finished) Knit one round with 2 strands color B. Pixie shaping: 

Rnd 1: *[K10 (11, 12) k2tog] repeat from * to end of round. 
Rnd 2: Knit 
Rnd 3: *[K9 (10, 11) k2tog] rep from * to end of round. 
Rnd 4: Knit. 
Rnd 5: *[K8 (9, 10) k2tog] rep from * to end. 
Rnd 6: Knit. 
Rnd 7: *[K7 (8, 9) K2tog] rep from * to end. 
Rnd 8: Knit. 
Rnd 9: *[K6 (7, 8) k2tog] rep from * to end. 
Rnd 10: Knit. 
Rnd 11: *[K5 (6, 7) k2tog] rep to end. 
Rnd 12: Knit. 
Rnd 13: *[K4 (5, 6) k2tog] rep to end. 
Rnd 14: Knit. 
Rnd 15: *[K3 (4, 5) k2tog] rep to end. 
Rnd 16: Knit. 
Rnd 17: *[K2 (3, 4) k2tog] rep to end. 
Rnd 18: Knit. 
Rnd 19: *[K1(2, 3) k2tog] rep to end. 
Rnd 20: Knit Jump ahead to round 25 for smallest size. 
Rnd 21: Med and Large sizes: *[K1 (2), k2tog] rep to end. 
Rnd 22: Knit Jump ahead to round 25 for medium size.
Rnd 23: Largest size only: *[K1, k2tog] rep to end. 
Rnd 24: Knit 
Rnd 25: K2tog [4] times. Break yarn, leaving a 10” tail. 

Finishing Thread a tapestry needle and pull yarn through remaining 4 sts. Thread tail through stc once more to secure, tighten, and tuck end through to the inside of the hat. Weave in loose ends.

The Original Pattern can be found at http://www.knitpicks.com/patterns/Pixie_Hat__D55673220.html

Monday, February 12, 2018

Free Pattern of the Week!

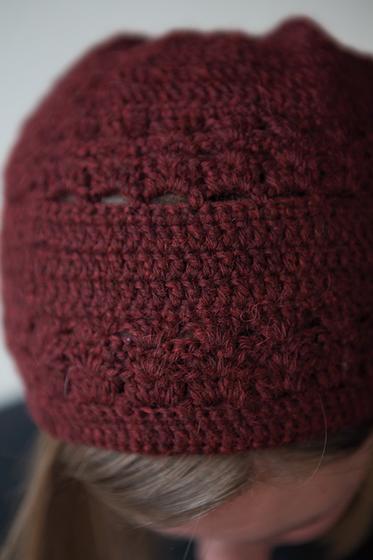
This weeks free pattern is Longitude Hat from KnitPicks.
Finished Measurements 22” circumference x 6” deep
Hooks US Q/19 (15mm)

When working in rounds, work first stitch in same stitch as join. Join means connect last stitch in round to first stitch using a slip stitch. All stitches are worked in the back loop except for the set-up rounds of the brim and top of crown. Stretch is vertical and horizontal, but more horizontal so consider fit preference – snug vs. loose. A 17” fabric may fit up to 20” head circumference.
sc2tog (Single crochet two together) Insert hook in next stitch, yarn over and pull up loop (2 loops on hook), insert hook in next stitch, yarn over and pull up loop (3 loops on hook), yarn over and draw through all 3 loops on hook —1 stitch decreased 

Directions Ch 11. 
Row 1: Working in BLO (bump of chain), SC in the second ch from hook and in each ch across, turn. (10 sc) 
Row 2 (WS): Ch 1, Sl St in BLO of each sc across row, turn. (10 sl st) 
Row 3 (RS): SC in BLO of each sl st across row, turn. (10 sc) 
Rep Rows 2-3 for desired fit. For adult size, work a total of 44 rows for about 22” 
Place RS together, matching up stitches, and with WS facing, sl st through strands that are touching, one from each stitch along. Do not fasten off. Turn work right side out. 

Brim
 Rnd 1: Working along row edges, SC in each row around, join. 
Rnd 2: Ch 1, working in BLO, SC in each sc around, join. 
Fasten off. Weave in ends. 

Top 
Attach yarn to top edge at seam. 
Rnd 1: Working in row edges, *SC in the next 3 sts, SC2tog; rep from * to end of rnd, join. Work in BLO for remaining rounds. 
Rnd 2: Ch 1, SC in the next 2 sc, SC2tog; rep from * around to end of rnd, join. 
Rnd 3: Ch 1, *SC in the next sc, SC2tog; rep from * around to end of rnd, join. 
Rnd 4: Ch 1, (SC2tog) 2 times, SC in the next sc; rep from * around, ending with SC in last 2 sts, join. 
Rnd 5: *SC2tog; rep from * around to end of rnd, join. 
Rnd 6: *SC2tog; rep from * around to end of rnd, join.. Leaving a 24” length of yarn for weaving, fasten off. 
Weave stitches together and use length to fill gaps from decreases 

Finishing Weave in any remaining ends, wash and block..


The Original Pattern can be found at http://www.knitpicks.com/patterns/Longitude_Hat__D55717220.html

Monday, November 13, 2017

Free Pattern of the Week!

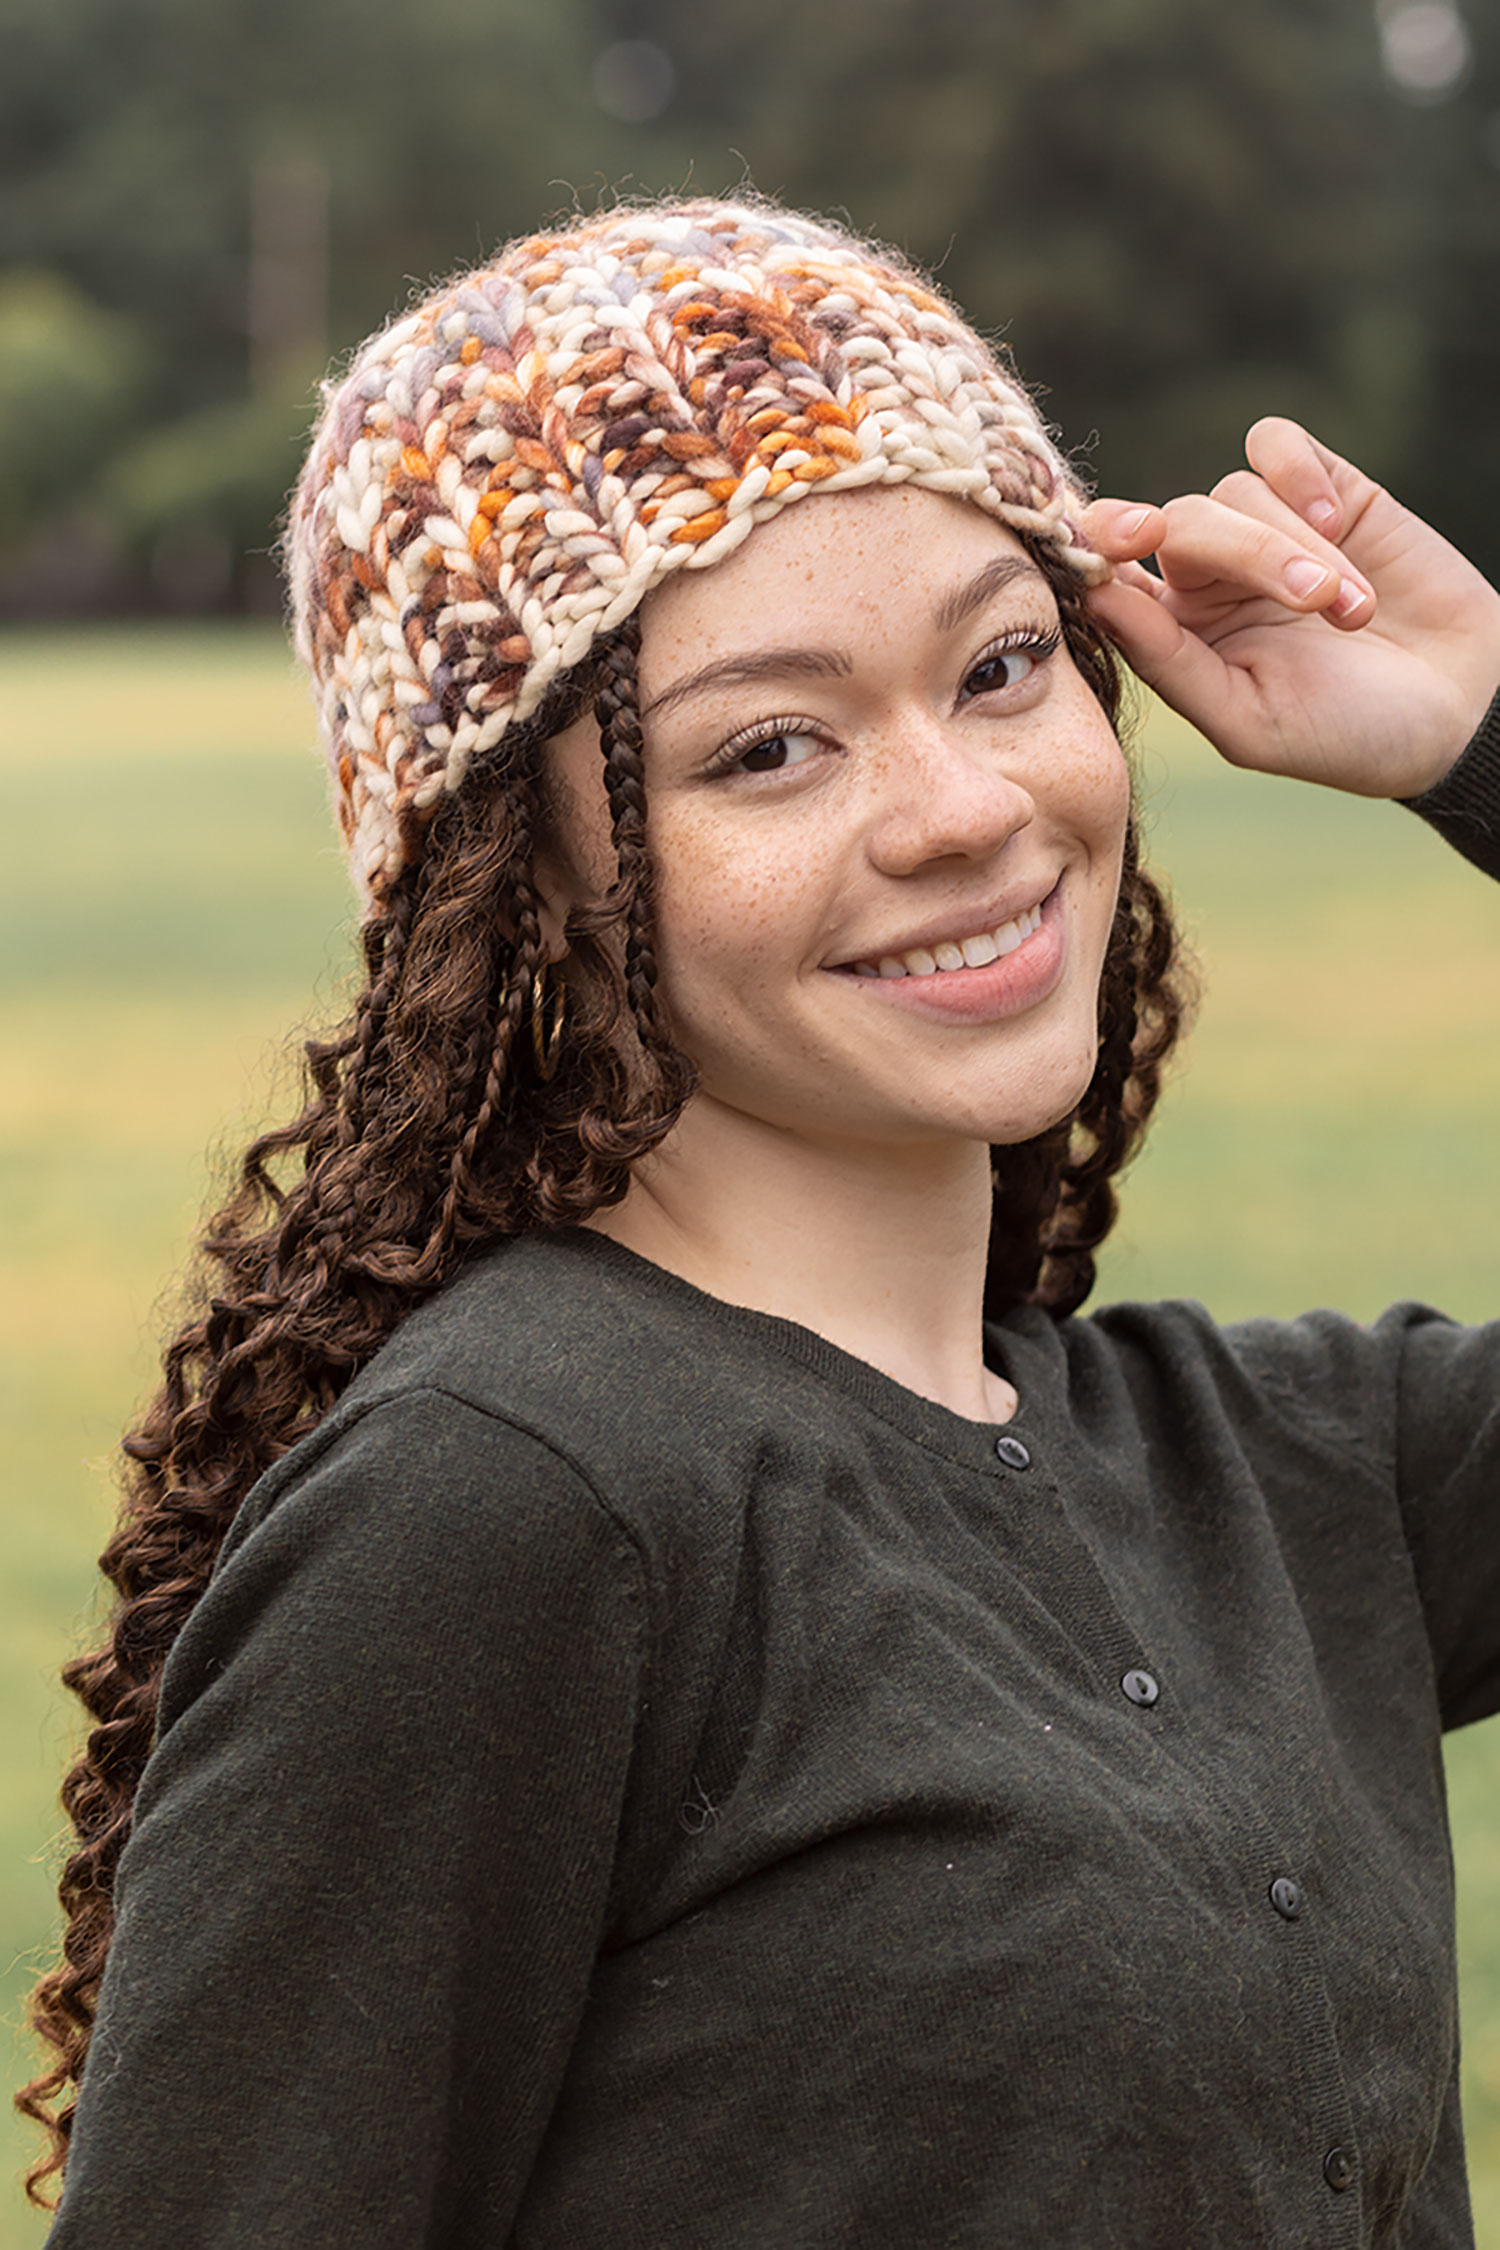
This weeks free pattern is Hyde Park Hat from KnitPicks.

Finished Measurements 20.5 (22, 23.5)” finished brim circumference; hat is meant to be worn with 1” of negative ease. Depth is 8” for non-slouch version and 10.5” for slouch version.
Hooks US F/5 (3.75mm) for brim, US G/6 (4.00mm) for body

Directions for smaller size are shown first, followed by medium and large in parenthesis where different. The brim is crocheted first then the rest of the hat is crocheted upward to the crown; the brim is folded under and elastic may be added for a snug fit. Work a shorter depth for the non-slouch version or deeper for the slouch version. 

SC INC (single crochet increase) Work 2 SC into same st. 

DC DEC (double crochet decrease) Worked over 2 sts, YO, insert hook into 1st st, YO and pull up a loop, YO and pull through 2 loops on hook, YO, insert hook in 2nd st, YO and pull up a loop, YO and pull through 2 loops on hook, YO and pull through all 3 loops on hook. 

4 DC-Shell Work 4 DC all in the same st. 

3 DC-Cluster 3 DC all worked in same st: (YO, insert hook in space, YO and pull up a loop, YO and pull through 2 loops) 3 times, YO and pull through all 4 loops on hook. 

Directions 
Brim With smaller hook, Ch 110 (118, 126), or a multiple of 4 + 2 sts to fit around your head. 

Row 1: SC in 2nd ch from hook and in each ch to end. (109 [117, 125] sc). Measure to ensure the chain fits desired head circumference 

Row 2 (RS): Ch 3 (counts as 1st dc, now and throughout), turn. DC in 2nd sc and in each sc across row. Count your sts and write down the count so you can keep track. Join with a Sl St to 3rd ch of starting ch-3, being careful not to twist work. The rest of the hat is worked in rounds. Join the end of each row with a Sl St to the start stitch of the row, then turning to work back. 

Row 3 (WS): Ch 1, turn. SC in 1st dc and in each dc across row. Join with a sl st to 1st sc of row (count your sts!). Place marker after Row 3 to indicate fold line for brim. 

Row 4 (RS): Rep Row 2. Count your stitches! If you do not happen to have a multiple of 4 + 1 sts, in the next row work as many SC INC as needed (evenly spaced around row) to force a multiple of 4 + 1 sts. 

Row 5 (WS): Rep Row 3 (SC INC as necessary to force a multiple of 4 + 1 sts). Join with Sl St to 1st sc of row. 

Body 
Change to larger hook for the rest of the hat. 

Row 6 (RS): Ch 1, turn. SC in 1st sc, *Ch 4, Sk 3 sc, SC in next sc; rep from * across to end of row, join with Sl St to 1st sc. (27 [29, 31] ch-4 sp). 

Row 7 (RS): Ch 3, do not turn. Work 4 DC-Shell in 1st ch-4 sp, *work 4 DC-Shell in next ch-4 sp; rep from * around, join with Sl St to 3rd ch of starting ch-3. (27 [29, 31] Shells). 

Row 8 (WS): Ch 3, turn, Work 4 DC-Shell between 2nd and 3rd dc of 1st 4 dc-Shell, * work 4 DC-Shell between 2nd and 3rd dc of next 4 dc-Shell; rep from * around, join with Sl St to 3rd ch of starting ch-3. 

Row 9 (RS): Rep Row 8. 

Row 10 (WS): Ch 1, turn. SC in each dc around to tch, SC in 3rd ch of tch, join with Sl St to starting sc. (Mult of 4 + 1 sc, count them!) 

Row 11 (RS): Ch 3, turn. SC in 2nd sc and in each sc across, join with Sl St to 3rd ch of starting ch-3. (Mult 4 + 1 dc). 

Row 12 (RS): Ch 3, do not turn. Continue working with RS facing, DC in 2nd dc and in each dc around, join with Sl St to 3rd ch of starting ch-3. (Count and make sure you still have a mult of 4 + 1 dc). 

Row 13 (RS): Rep Row 12. 

Row 14 (WS): Ch 1, turn. SC in 1st dc and in each dc around to tch, SC in 3rd ch of tch, join with Sl St to starting sc. (Mult 4 + 1 sc). 

For Non-Slouch Version only, work Rows 15-20 below: Rows 15-20: Repeat Rows 6-11 once, and then go to Crown Decreasing Section. The hat should be about 5.5” deep. The crown will add an additional 2.5”. 

For Slouch Version only, work Rows 15-29 below: Rows 15-29: Repeat Rows 6-14 once, then Rows 6-11 once more. Go to Crown Decreasing Section. The hat should be about 8” deep. The crown will add an additional 2.5”. 

Crown Decreasing 
Next Row (RS): Ch 3, do not turn. *DC DEC over the next 2 dc, DC in each of the next 2 dc; rep from * around, join with Sl St to 3rd ch of starting ch-3. (82 [88, 94] dc. You have decreased approximately ¼ of your sts). 

Next Row (RS): Rep Row 12. 

Next Row (WS): Rep Row 14. 

Next Row (RS): Ch 1, turn. SC in 1st sc, *Ch 2, Sk 2 sc, SC in next sc; rep from * to end of row, join with Sl St to 1st sc. (27 [29, 31] ch-2 sp).

Next Row (RS): Ch 3, do not turn. 3 DC-Cluster in 1st ch-sp, Ch 1, *3 DC-Cluster in next ch sp, Ch 1; rep from * around, join with Sl St to 3rd ch of starting ch-3. (27 [29, 31] Clusters). 

Next Row (RS): Ch 3, do not turn. DC in top of 1st 3 DC-Cluster, *DC in top of next 3Dc-Cluster; rep from *, join with Sl St to 3rd ch of starting ch-3. (28 [30, 32] dc). 

Next Row (RS): Ch 3, do not turn. *DC DEC over next 2 dc; rep from * to end of round, DC in rem st. Join with Sl St to 3rd ch of starting ch-3. (15 [16, 17] st).

Next Row (RS): Ch 3, do not turn. *DC DEC over next 2 dc; rep from * to end of round, DC in rem dc for size Md, join with Sl St to 3rd ch of starting ch-3. (8 [9, 9] st). 

Cut yarn, leaving an 8” tail. Fasten off. Use a yarn needle to slip through top of all of the sts in last row; pull tight to close. 

Finishing Brim First sew the ends of Rows 1 and 2 closed using either yarn or sewing thread. Try on hat to decide if you will be adding elastic to the brim. The elastic will keep the brim from stretching out after use, so I suggest it unless you prefer a loose fitting brim. 

If using elastic, cut a piece about ¾” longer than desired length, then sew ends together, overlapping the extra ¾”. Turn hat inside out; fold up on marked fold line at the Row 3 of Brim. If using elastic, insert into fold. Using yarn or sewing thread on wrong side of hat, stitch unused loops of starting chain to Row 5 of Brim.  

Remove marker. Weave in ends. Lightly steam block hat to increase floppiness. Enjoy!

The Original Pattern can be found at
http://www.knitpicks.com/patterns/Hyde_Park_Hat__D55699220.html